Valentine’s Day is rapidly approaching, and while I love getting flowers, I can never have my favorite ones, lilies, because they can be deadly to cats. I have three cats of my own and usually a pair of foster kittens at all times, so I don’t even want to risk bringing them into my home. However, I also love sweets, and I am more than happy to get a box of chocolates instead of a bouquet of flowers!
While storebought chocolates can be delicious, they’re often very expensive, and it can be hard to find ones for picky eaters or people with intolerances, allergies, and dietary restrictions. Fortunately, making custom chocolates is easier than you might think, and it can be a lot of fun! As a cat lover, I’m always looking for fun presents with feline designs, including sweets, so I developed a simple recipe and technique for making chocolates shaped like kitties!

To make these cat chocolates, all you need is some chocolate, a kitty cookie cutter, a spatula, toppings, a non-stick surface, and a chopstick (or a similar instrument to help you spread your chocolate. I’ve made these chocolates using a wide range of chocolate, including white, milk, dark, and semi-sweet, as well as butterscotch chips, and I’ve used chocolate chips, chocolate bars, and chocolate wafers made for dipping and coating. I’ve also made vegan chocolates using semi-sweet vegan chocolate topped with shredded coconut and dried cranberries, as well as gluten-free versions using gluten-free chocolate covered with chopped salted almonds and freeze-dried strawberries.

Obviously, if you’re making these chocolates for someone who is allergic to nuts or peanuts, you’ll want to avoid these toppings, but you can always add a salty and crunchy element to them by using roasted edamame, potato chips, or pretzels. In addition to these nut-free options, other possible toppings can include cereal, mini marshmallows, dried fruits like raisins, mango, peanut butter chips, toffee chips, graham crackers, chopped candy bars, cookies, M&Ms, pecans, macadamia nuts, walnuts, cashews, and peanuts (salted and honey-roasted are both great options), and pretty much anything else you can imagine!
It’s best to at least roughly chop most of these ingredients to make it easy for you to top your chocolates, and I’ve found a sprinkle of coarse sea salt really helps to bring all the flavors together and prevent everything from getting too sweet.
When it comes to cookie cutters, you can use pretty much whatever you have on hand, and in addition to cat cookie cutters, I’ve had great results with hearts and stars. However, to make your life easier, it’s best to avoid ones with lots of details because they can make it harder for you to get your chocolates out of the cutters without breaking them (I have snapped off multiple cat tails).

You’ll also need a non-stick surface to make your chocolates on, and I’ve successfully used parchment paper, silicone mats, and non-stick mats. You could probably also use aluminum foil, and wax paper should work just fine. A spatula will help you remove all of the chocolate from your bowl, but it’s not absolutely necessary. I also like using a chopstick to coax my chocolate into the corners of cookie cutters, but you could also use a knife or probably even a fork to get the same results.

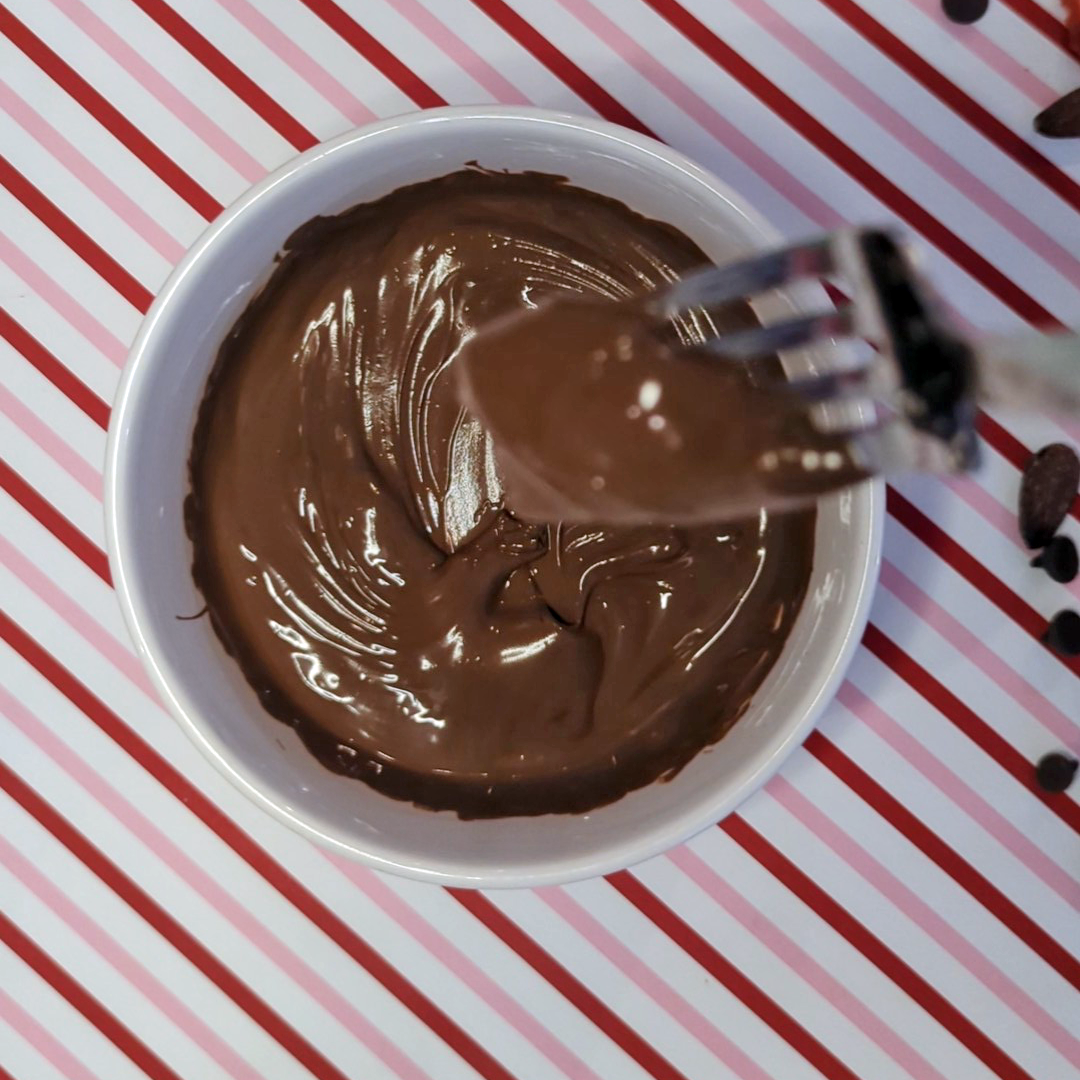
I like using the microwave to melt my chocolate, but you can use a double-boiler or bain-marie. If you have one of the fancy electric chocolate melters, then, by all means, use it! The important thing is not to overheat your chocolate, so if you decide to use the microwave, cook it for 30 seconds and then stir it thoroughly. While it might take a little while to melt completely, this helps guarantee it doesn’t get too hot (overheating the chocolate can affect its appearance, taste, and texture). If it’s not completely melted after 30 seconds in the microwave and thorough stirring, you can cook it for an additional 15 seconds.

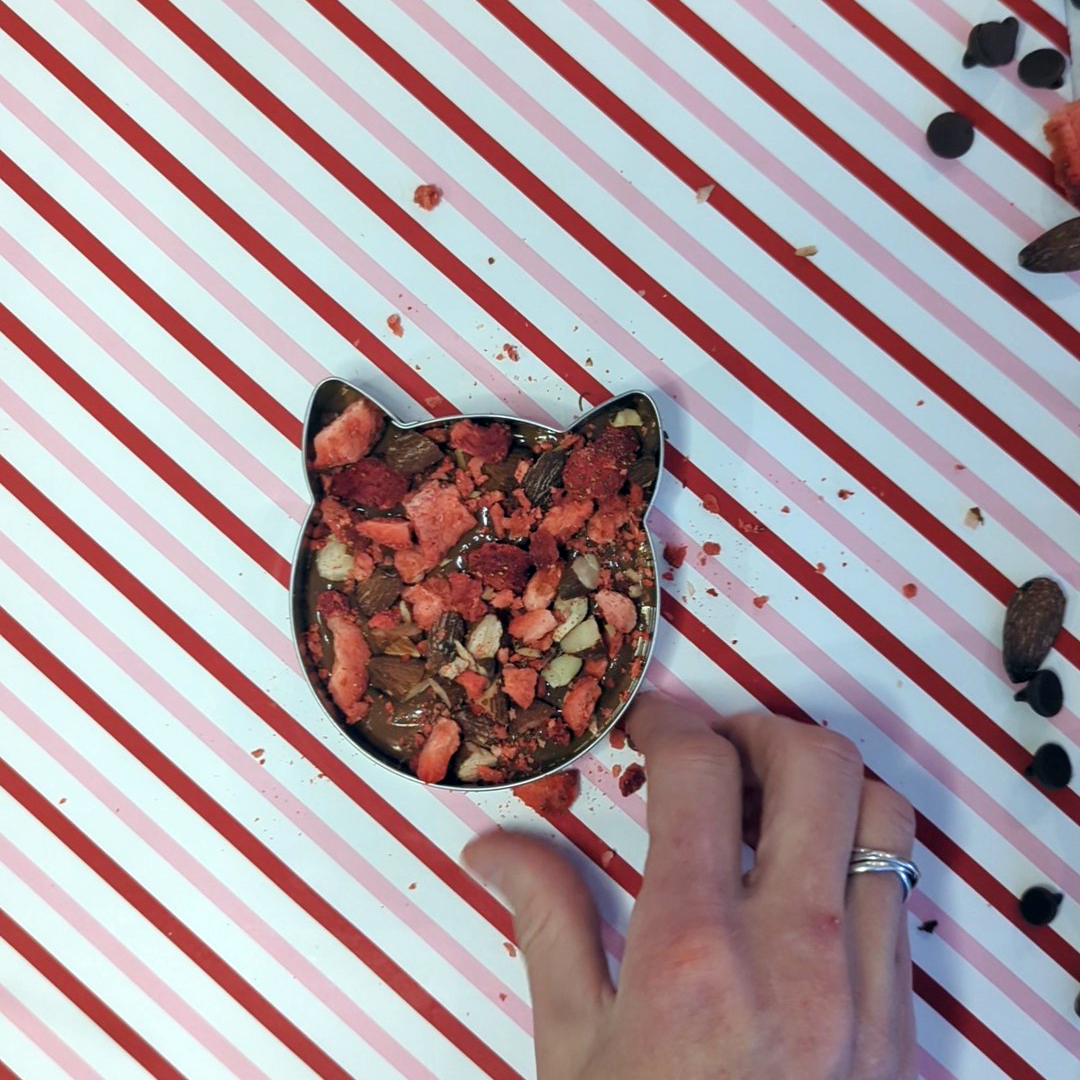
When making your chocolates, you want to have everything ready before you begin. Be sure to chop up your toppings and place your cookie cutters on a non-stick surface prior to melting your chocolate. Chocolate can harden very quickly, and in order for your toppings to stick, you have to put them on while your chocolate is still melted. If you want to help your toppings adhere to your chocolates, you can press them down gently with your finger or a chopstick.

After topping your chocolates, you have to allow them to set. Ideally, you should allow your chocolates to harden at room temperature, as putting them in the refrigerator or freezer can affect their appearance and texture. However, I’ve definitely done this when I’ve been in a hurry, and it’s always worked out okay. When it’s time to remove your chocolates from the cookie cutters, you should be able to gently push the chocolates out of the molds, but you may need to use a sharp knife to loosen them a bit. However, be sure not to push too hard, as you don’t want to risk snapping your chocolate.

Please let me know if you end up making these, and I’d especially like to hear the types of chocolates and toppings you used! I’d also really love to hear if you have any tips to make this super simple recipe even easier.
Super Simple Chocolate Cats
Ingredients
- 4 ounces Chocolate Chips
- 1 tbsp Chopped Salted Almonds
- 1 tbsp Chopped Freeze-dried Strawberries
- 3 Cookie Cutters
Instructions
Prep
- Line a baking sheet with a non-stick surface, such as a piece of parchment paper or a silicone mat. Place your cookie cutters on the non-stick surface.

- Prepare your toppings and place them near your baking sheet.

Melt Chocolate
- Place your chocolate in a microwave-safe bowl or the bowl of your double boiler/baine-marie.
- Microwave your chocolate for 30 seconds. Remove it from the microwave and stir the chocolate until it is smooth and completely melted. If you're using a double boiler/baine-marie, heat your chocolate until it is smooth and melted.

Assemble
- Pour melted chocolate into your cookie cutters and use a rubber spatula to scrape your bowl. You can use a chopstick, skewer, or a butter knife to help coax your chocolate into your cookie cutter's nooks and crannies.

- Immediately after pouring your melted chocolate into the cookie cutters, sprinkle the chocolate with your toppings. To make sure they adhere to the chocolate, you can gently press down on your toppings using your finger or a chopstick.

Cool
- Allow your chocolate to set. You can place the baking sheet to hasten this process, but it may affect the appearance and texture of your chocolate.
- Once your chocolate has hardened, you can remove them from the cookie cutters by gently pressing around where the chocolate meets the cookie cutters. If you have difficulty removing the chocolate from the cookie cutters, you can use a very sharp knife to help loosen it.

Store
- Store your chocolates in the refrigerator where they should keep for at least a week.
Notes


